Enlarging images in Photoshop
There are times when graphic designers are asked to do extreme image enlargements. I recently had a client who requested that a letter-sized image be used on a 102-in x 52-in banner. At first this, I thought this was folly, but then I remembered a technique I learned from a colleague. This technique helps prevent pixilation and ensures the best color possible in the enlarged image.
The technique makes a lot of sense and it goes like this:
1.) Start of with a high resolution RGB image; at least 300 dpi at its original size

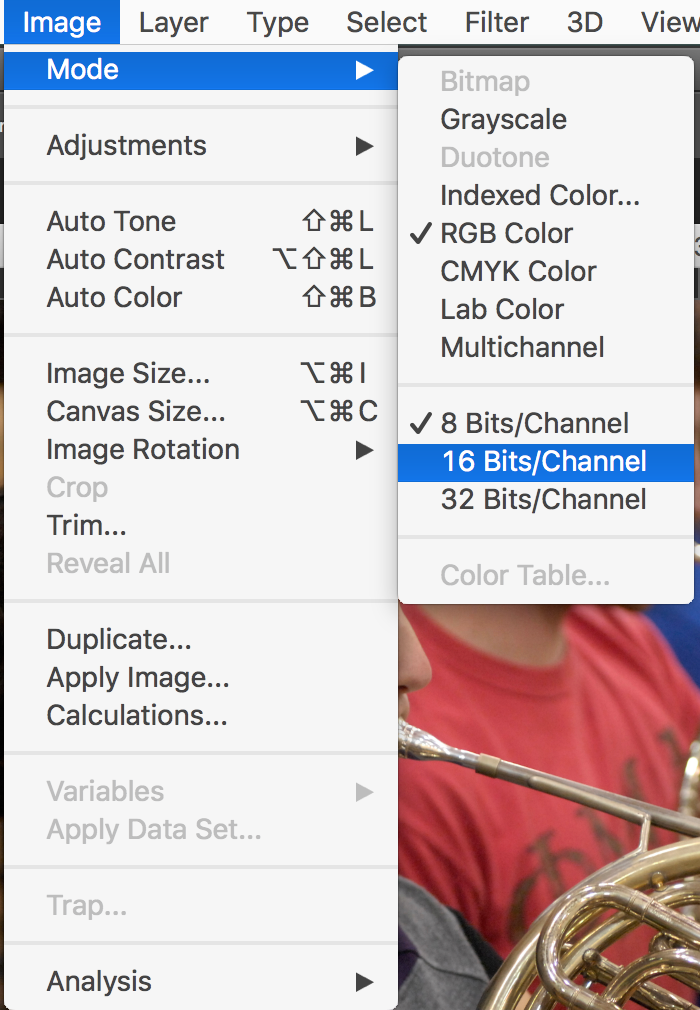
2.) Open image in Photoshop, and convert to a 16-bit image – this is to give Photoshop as many colors as possible when it interpolates pixels as it enlarges image
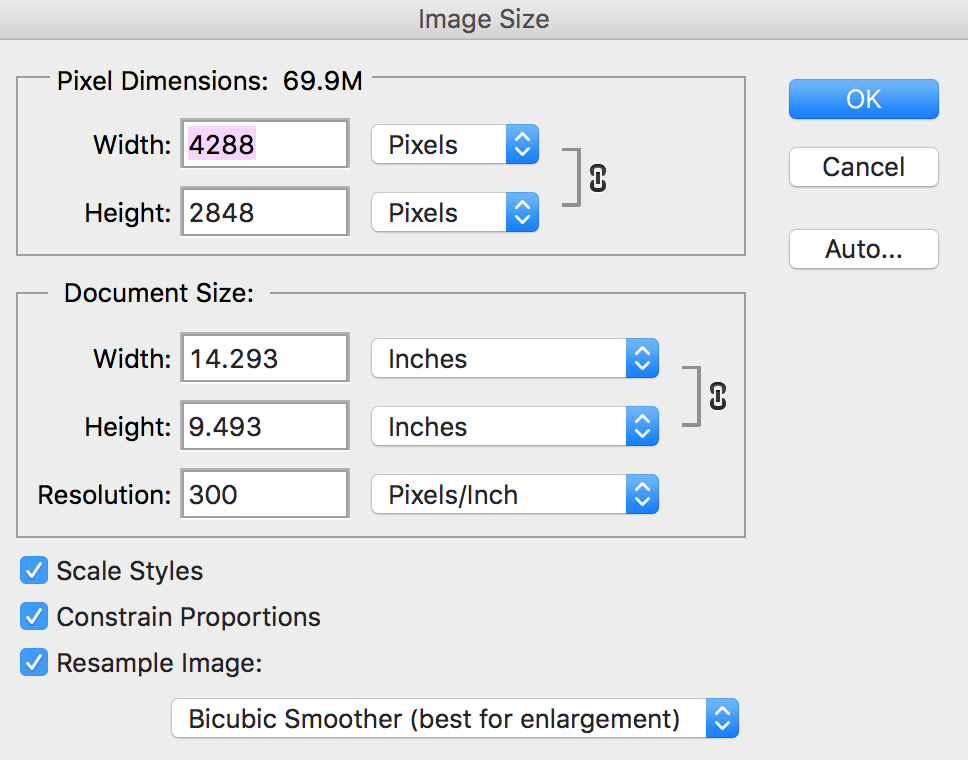
3.) Open the Image Size (command-shift-I)
4.) Make sure Resample Image radial button is checked and select “Bicubic Smoother (best for enlargement)” from bottom drop-down menu; and ensure Resolution remains at the original, high resolution dpi
5.) Increase image size in 10% increments saving between enlargements; occasionally close image to ensure Photoshop is applying settings to image – make sure “Bicubic Smoother (best for enlargement)” is selected each time image is enlarged!
6.) Continue enlarging image in 10% increments until desired size is reached; this may take some time and file size may get ridiculous
7.) Once image size is finalized, you can convert image back to 8-bit color (this will reduce file size significantly)
TIP: Contact output vendor and ask them for the ideal file resolution. It may be less than what you have set for your image, which means you can reduce the resolution of the image and create a more manageable file.
Hope this helps you the next time you are asked to enlarge images.